Tuesday, December 19, 2006

Three more pages...

Here are the remainder of my mom's calendar. Yes, that is only nine, but I didn't get a chance to scan the other three before it was time to wrap it. (nothing like the last minute!!). If you have any questions, just post here and I will get back to you.

Thanks for stopping by!!
Merry Christmas!!

Sunday, December 17, 2006

Another Christmas Gift


This is for my sister-in-law. She requested one last year. I have various cards that I have made throughout the year to put inside. I sure hope she likes it.

Stay tuned--more gifts to come ;)

Wednesday, December 13, 2006

More Christmas--Calendar Instalment #1


This is the first installment of the calendar that I am making for my mom. It has a 6" x 6" layout for each month of the year. Stay tuned for more Christmas presents!

Wednesday, December 06, 2006

Tri-Fold Pocket Card

I really like to do the challenges at Splitcoast Stampers. They give me a "jumping off" point, and focus my attentions.

Wednesdays' challenge is always a sketch challenge. The moderator posts a sketch of a layout of a card. Participants use this sketch to create all sorts of projects. What seemed to be obvious to one stamper--is a surprise to another!!

This weeks challenge (#101) was a "Tri-Fold Pocket Card". It is a great card to insert money or a gift card into it.

I chose to just use it as a notecard.
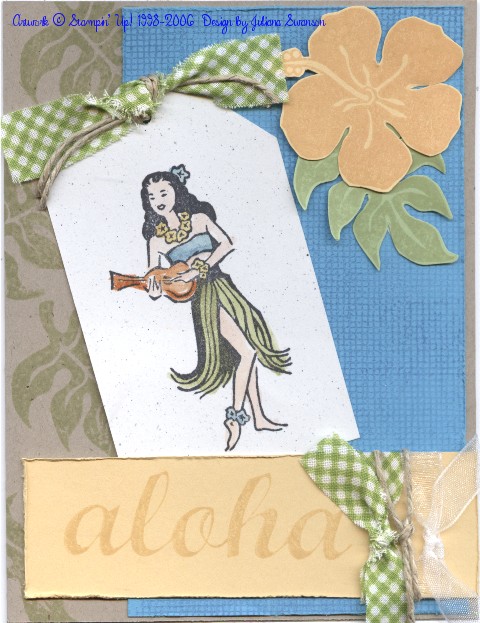
The "Frog and Toad" stamp (from the "Frog and Toad" books) was a gift from my mother back when I was still in high school. The stamp company has since gone out of business. It is actually a bookplate stamp, but I omitted that part while stamping.

Supplies (all Stampin' Up! unless otherwise noted):
Stamps: Frog and Toad Fishing, Canvas, Noteworthy (retired)
Paper: White-naturals, Sahara Sand, Not Quite Navy, Certainly Celery, Designer Paper from KI Memories
Ink: StazOn Black, Sahara Sand, Not Quite Navy, and various others for water coloring
Accessories: Silver Brads, Celery Grosgrain Ribbon, Ticket Corner Punch, 1/16" hole punch, Word Window Punch, 1 3/8" Circle Punch

If you go to the above links you will find the template that I used. I did not alter it much. I just added the circle, folded in half on the note card. And I also added the word window punches on the insides with the brads. In both cases they helped to cover the back of the brad--for, though I LOVE to use brads, I DO NOT like the back prongs to show.

Thank you for stopping by. Please feel free to leave a comment. Also if you want to see the above pictures a little larger--just click on them.
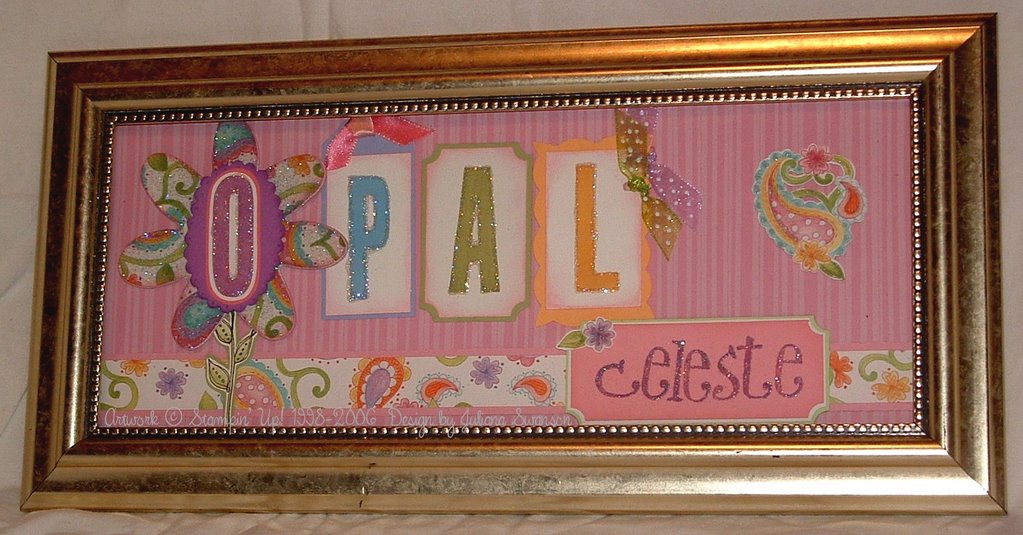
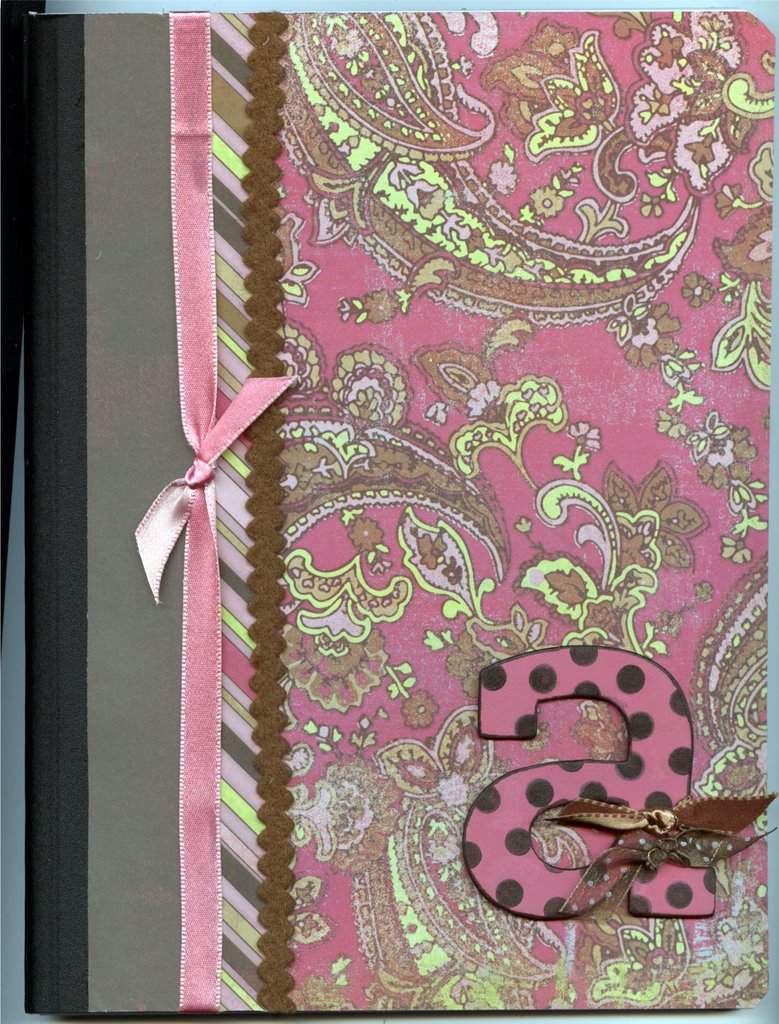
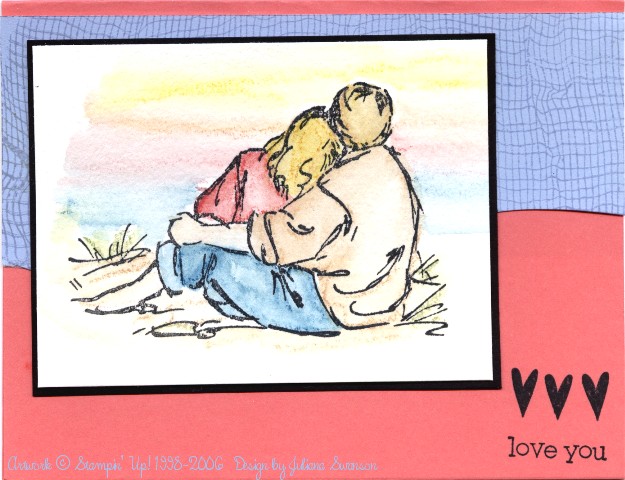
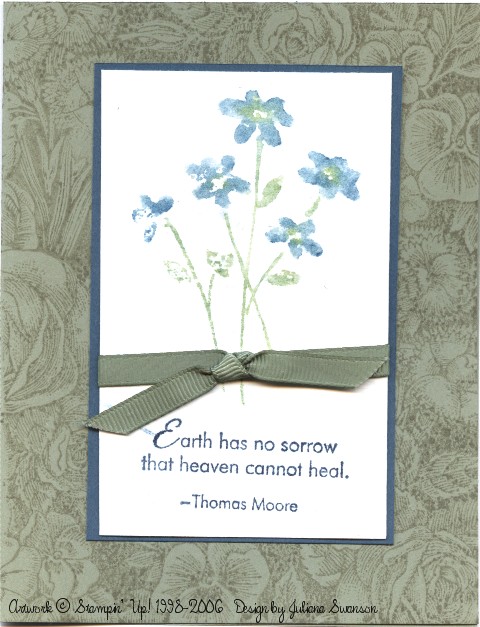
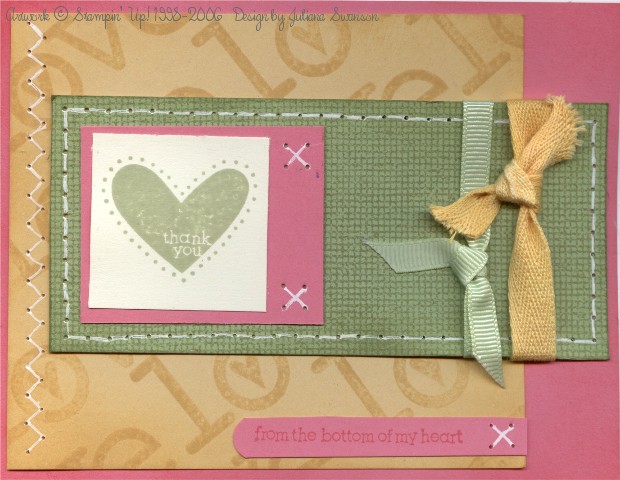
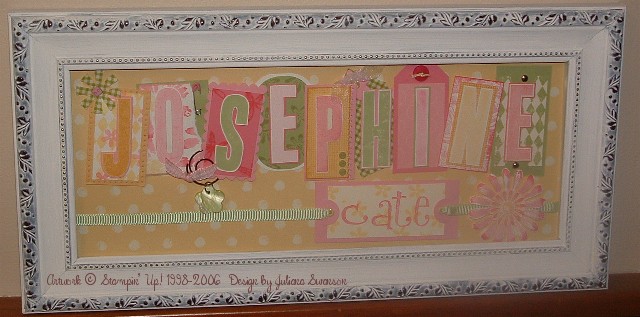
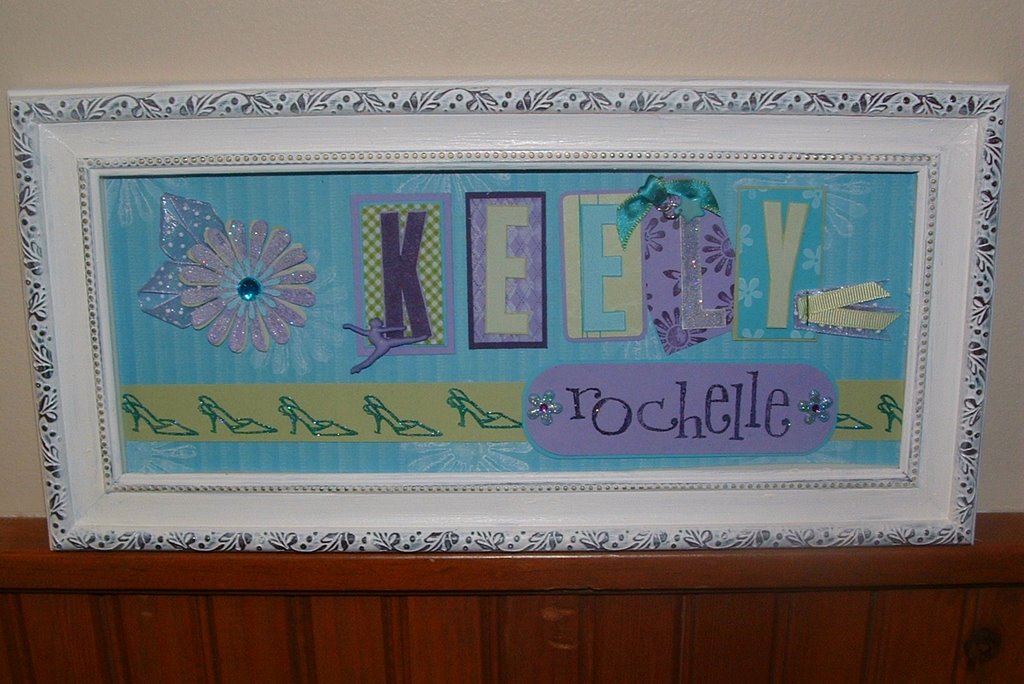
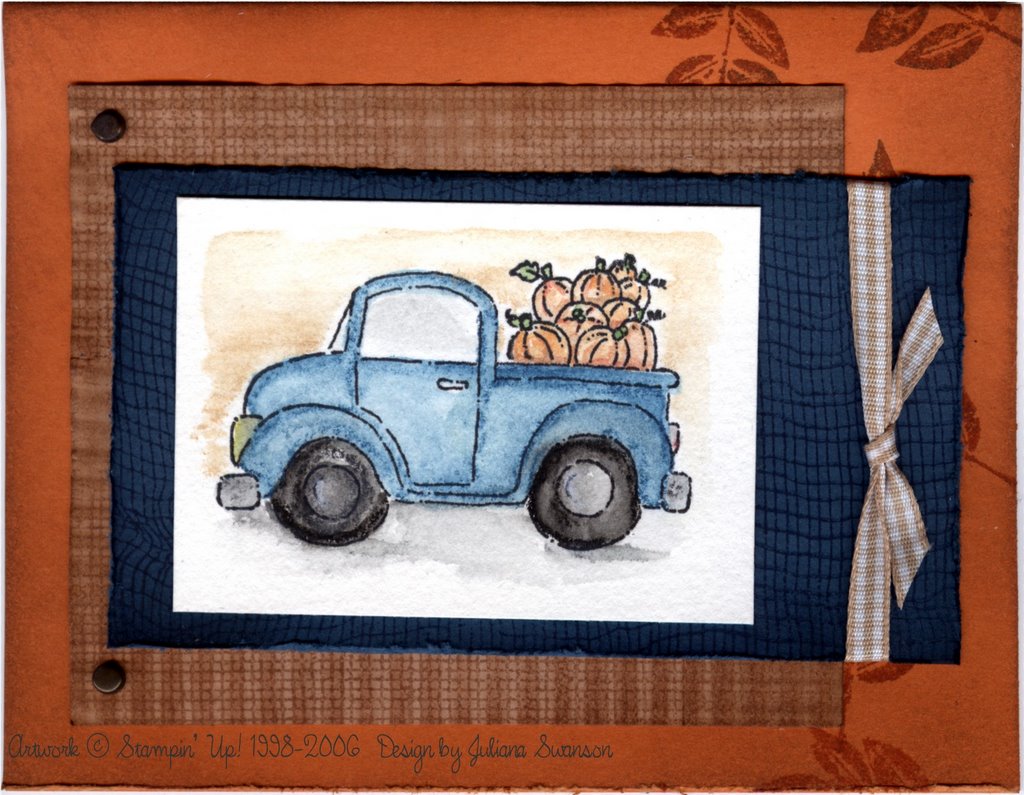
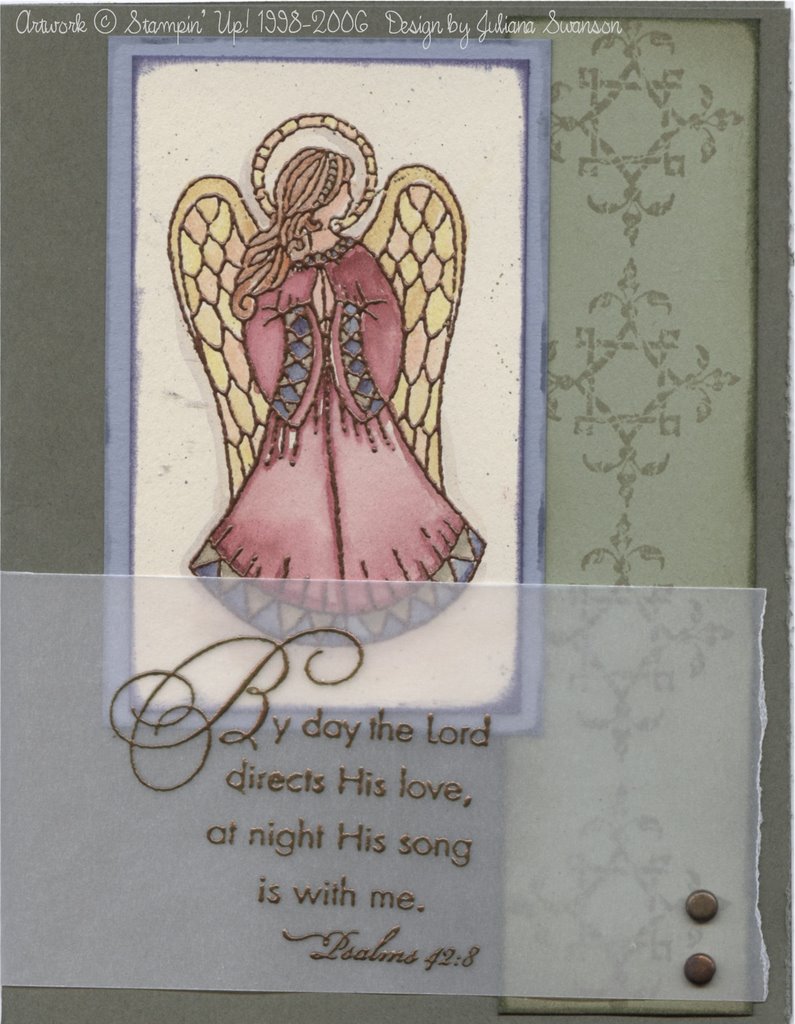
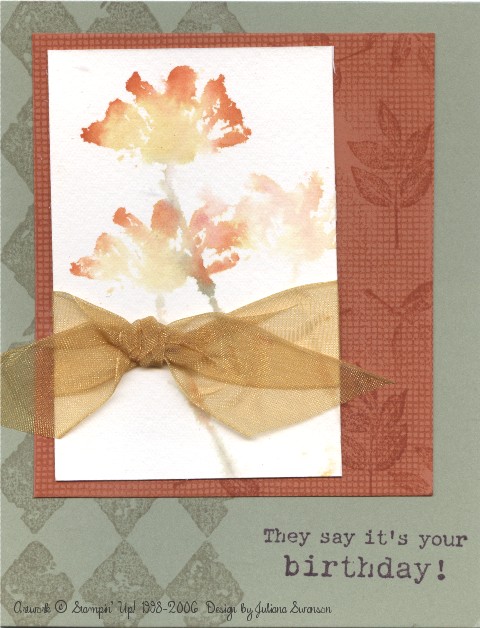
Thursday, November 30, 2006

Another Name Frame


The same woman who I made these name frames for, ask me to make this one for her to give as a Christmas present. I used Renee Lindgarten and Rob and Bob designer papers, and Stampin' Up! chipboard. The child's room is decorated with fairies so I try to keep it light and whimsical. (It is very glittery in person.

Thanks for stopping by!

Monday, November 27, 2006

In case you were wondering...

If you visit my blog often, you may have noticed that I removed a post. I removed my brother-in-law's wedding invitation. I felt it was a security hazzard to them. I tried just blurring the personal info on the invitation, however, my photo software is not sophisticated enough to do that. So I simply removed the post.

Thanks for understanding.

One Last Fall Card


Here is one last fall card for the year. I love watercoloring with this set and I wanted to use it one last time before it goes up high on the shelf. I chose rich colors highlighted with black to express the coziness I feel coming into hot cider on a crisp fall day.

--The stamp sets I used are "Give Thanks" and "Double-Line Doodles". ("Double-Line Doodles" will not be available until July 2007)
--The papers are: Watercolor Paper, Basic Black, So Saffron, Always Artichoke, and Rose Red. I stamped the apple bucket image with StazOn Black and I watercolored the image with Rose Red, Close to Cocoa, Garden Green, and So Safron.
--The bucket was colored with a grey watercolor crayon and painted with an AquaPainter.
--I did some doodling around the image with a Stampin' Write Journaler (the fine point end). --The Rose Red square was stamped and sponged with Rose Red ink (I love this look--one of the many wonderful aspects of coordinated inks and papers).
--The Always Artichoke base card is also sponged with Always Artichoke craft ink. The main image is adhered with Stampin' Dimensionals to "pop" it off the card.

Thanks for stopping by! Feel free to leave a comment!

Thursday, November 09, 2006

More with Watercolor Wonder Crayons

This is another project from my Oscoda class.

Stamp Sets: Petal Prints and Flora Background
Inks: Creamy Caramel and Chocolate Chip classic
Paper: Very Vanilla, Close to Cocoa, and Creamy Caramel
Accessories: Double hole punch, White narow organdy ribbon, caramel gingham ribbon and brayer, misting bottle.

This card uses the crayons directly onto the rubber. I colored directly on the rubber after misting it lightly with water, then mist again prior to stamping. I particularly like this technique with this stamp because the result looks more like a pressed flower. I used the Coluzzle oval template to make the oval. The oval is also sponged with Creamy Caramel Classic ink. The background is Chocolate Chip Ink brayered onto the stamp (wood down--rubber up) and stamped onto Close to Cocoa cardstock. I am much happier with the results of brayering ink onto the Floral Background stamp rather than inking it directly with the pad. It takes an extra minute to clean up--but well worth the extra effort.

Thank you for taking the time to look!!


Tuesday, October 31, 2006

Happy Halloween!


I just wanted to make a quick post to show a project that my Oscoda class did last week.

This is a 2-4-6-8 box. It is a 5.5" x 8.5" piece of cardstock, scored lengthwise 2" from one side and scored widthwise at 2", 4", 6", & 8". The flaps on the short side of the lengthwise score are cut on the scorelines to the intersecting score line.

This box was stamped with white craft ink and the "Cheesecloth Background" stamp, then embossed with "Iridescent Ice" embossing powder. The tag was stamped with "Whimsical Alphabet-Lower" and "Everyday Flexible Phrases" in Pumpkin Pie and Black, and punched with the tag punch.

The candy is Hershey's Nuggets. We used the "Leaf Print" wheel to stamp Avery return address labels with Pumpkin Pie ink. The labels fit the chocolates PERFECTLY!

I am not super into Halloween, so it was fun to creat a project without using any Halloween stamp sets.

I hope you enjoyed my treat!

Tuesday, October 17, 2006

What could be better?!?

I had a wonderful stamping weekend!

First I set up my table for the church bazaar on Thursday (yes, I know that is technically NOT the weekend, but cut me some slack here). Then I headed to my mother-in-law's home because she was going to take care of my youngest daughter. There I finished stamping my swaps. Swaps are projects that you "swap" with other crafters, in this case it was stamped card fronts. I needed swaps since I was heading to Lansing (MI) for the Stampin' Up! Regional Seminar!

Here is my swap:
Friday, before the crack of dawn, I headed to Lansing. The weather was not too wonderful, but not terrible either. I really did not care as long as it did not keep me from getting to the Lansing Center to hang out with 500 other Stampin' Up! stampers! I joined my upline (and good friend), Virginia, at a restraunt and moments later we arrived chilled but giddy at the seminar. We arrived a little too late to do much swapping, but in plenty of time to find a good seat and socialize a bit. We sat at a table with two other folks from splitcoast: Kendra and MichelleY. They were very sweet and had some good ideas for my business. Also at our table was Kendra's sister from Lansing.

The presenters and Shelli were interesting and inspiring. I had a great time and I learned a lot. Not just about being a Stampin' Up! demonstrator, but also about stamping!!

All, too soon, the day came to an end. I was able to have a nice long supper with Virginia, before hitting the road with half of Michigan to head north on I-75.


Saturday, my daughter Gracie and I headed to church to "man" my craft sale table. She showed me what she, her brother, and her daddy had sold the evening before (in my absence). They had done well. Saturday passed quickly. I met many sweet people and sold a few things. Best of all, I got to hang out with my Gracie.

At the next table the rep. from Home Interiors and Gifts, Denise Mochty, ordered a composition book for her daughter's baby shower. Here it is:It was a great weekend. I met so many great people, sold a few things, caught up with a good friend--all because of stamping!

Friday, October 06, 2006

Free Standing Pop Up Card

I am trying to get things ready for the Church Bazaar on October 13th and 14th. I am renting a table in an effort to sell my creations.

Today I tried a "free standing pop-up card". I would love to take credit for designing this project, but alas, I cannot. It was designed by Joelyn at Splitcoast Stampers. She has designed a great project sheet and directions: HERE There is a link to one of her cards on the thread, too. If you do decide to take advantage of her directions and diagrams, please let her know how helpful they were!!
I used some trial and error to make the project work for me. Unless, otherwise noted, all products are from Stampin' Up! I have used the "Pretty Princess" stamp set from Stampin' Up! The cake is stamped with Jet Black StazOn (solvent/waterproof ink) on watercolor paper. I watercolored with dye ink and a water filled pen (aqua painter). The inks colors were Certainly Celery, Bashful Blue, Lavender Lace, Pretty in Pink, Regal Rose, and So Saffron. Using a glue pen I highlighted some of the icing on the cake and the candle flame and then used Dazzling Diamonds glitter. (very fun!!) For the card base I used Lavender Lace cardstock and stamped the flower from the set with Lavender Lace ink--then the flowers are hightlighted with a white gel pen. I made the base a 1/4 of an inch narrower than Jocelyn's instructions in order to fit into my envelopes. The greeting on the front is from the "Its Your Birthday" set and most of the ribbon is from Wal-mart.

Thanks for stopping by my blog--If you are in Tawas MI on October 14th, stop in the United Methodist church and say "Hi!"

Friday, September 08, 2006

September Techniques Class

I hold monthy "Stampin' Techniques" classes in both Oscoda and Tawas. In the class we do three cards that showcase different techniques in stamping. Also, class members make a reference page to go in a techniques book (included in the class fee). A small sample of the technique an a description of the technique go on each page. The reason for this is so the card can be given away (the main purpose in making greeting cards) but the technique will not be forgotten.

This month we will do two projects focusing on Stampin' Up!'s "Watercolor Wonder Crayons."
These are artist quality, watersoluable crayons.

This third project will focus on "faux stitching". This last technique was requested by my Tawas class hostess.

Thursday, September 07, 2006

Name Frames

Well, this is my latest obsession. Name frames.

It all started with Shelly's baby (coming any day now) and continues with her older daughter, Keely. Of course my three kids will have them next. They are just too fun! When possible I have used craft inks to reduse fading over time.


I hope you enjoy looking at them half as much as I have enjoyed making them.

Wednesday, August 23, 2006

I am back!!

Well, I am back to my poor poor neglected blog.

Much has happened since I last posted. Stampin' Up! has released their new 06-07 catalog, I have agreed to teach a stamp class at the local art store, I am participating in a craft show at my church, AND I have some new stamping stuff!!

My favorite of my new stamping stuff are my crayons. "CRAYONS!!" you say. "How can this girl get excited about crayons!" Well, it is simple--these are special crayons. They are water soluable crayons made for watercoloring. I am enjoing using them directly on the stamp or stamping with waterproof ink (I use StazOn by Tsukineko) then water coloring with the crayons. When I water color, sometimes I use the crayons like a cake of paint, picking up the color directly from the crayon onto the wet brush OR I color a little with the crayon on the paper then soften and blend the colors with a wet brush. There are other methods of using these crayons and I will find them all!! I really feel like an artist--because of the results I get with them.


Here is my favorite card I have made with them, this evening. The layout was designed by Roxie of Splitcoast Stampers--and it is good!! Check out this challenge HERE.

I am still working on the watercoloring technique--the watercolor paper helps--tremendously! I struggle with the tires on this set. Well, someday maybe I will get it right. One thing I know for sure--I will certainly have fun trying!!

Monday, June 19, 2006

I am a rubber snob!

LOL!
Yes, I am a rubber snob. The latest thing (not actually new, though) is polymer stamps. They seem great since they are clear, which supposedly makes it easier to place the stamps on the stamping surface. This could come in handy the most when stamping letters to make words (like on scrapbook pages). Does the polymer material stamp as nicely as rubber? Sadly, no. It cannot take the large variety of inks and stamping opportunnities (like bleach--which give a really neat effect).

I came across an information page while shopping for stamps online: Clear Stamping Techniques
It makes a good case for the benefits of polymer (clear) stamps. In my mind, though, not good enough for me to invest my $$ in them.

Saturday, June 17, 2006

Family picture


Here are the folks that have to put up with my inky fingers:

Where am I!?! Stamping? No, I am behind the camera!

Artistic enough?


I have never thought of myself as artistic, just admiring of artisans. I have never taken a formal art course, but now I would like to.

I have an opportunity to try and teach stamping at the local art supply store/gallery. I have been asked to bring in some samples. This is worse than a job interview. It is not just my character that is being evaluated, but my ability as a stamper. Here are some cards I have been working on to take in.

Thursday, June 15, 2006

Bargain?


Well, they got me!
Wal-mart, that is. I was there just picking up some "emergency" groceries, and I happened by the clearance table. Unable to avert my eyes, I saw gingham. Blue and green gingham. H-m-m-m-m. It was bias tape for binding a quilt, but it was only 50 cents!! Three yards for 50 cents. Well, somehow a package of each ended up in my basket, I brought them home, and now I have to figure out wat to do with this bargain.
The best that I have come up with so far, is to cut it in strips and use it like ribbon. My next thought is to bind a paper-bag book with it. The green seems to match SU!'s Certainly Celery almost perfectly! The blue is kind of a Ballet Blue.
Anyway, this card is what I have come up with so far. It pleases me.
Maybe, this time, it really was a bargain.

Tuesday, May 23, 2006

Inky FIngers


I always seem to have inky fingers these days. Today it is "Passion Pink", "Orchid Opulence" and "Certainly Celery." (and little touches of black). I am making the invitations for my oldest dd's birthday party. They are a Hawaiian theme. It will be a stamping/swimming party. She is pumped! I had better get stampin'!!

Here is one of the goodie bags: